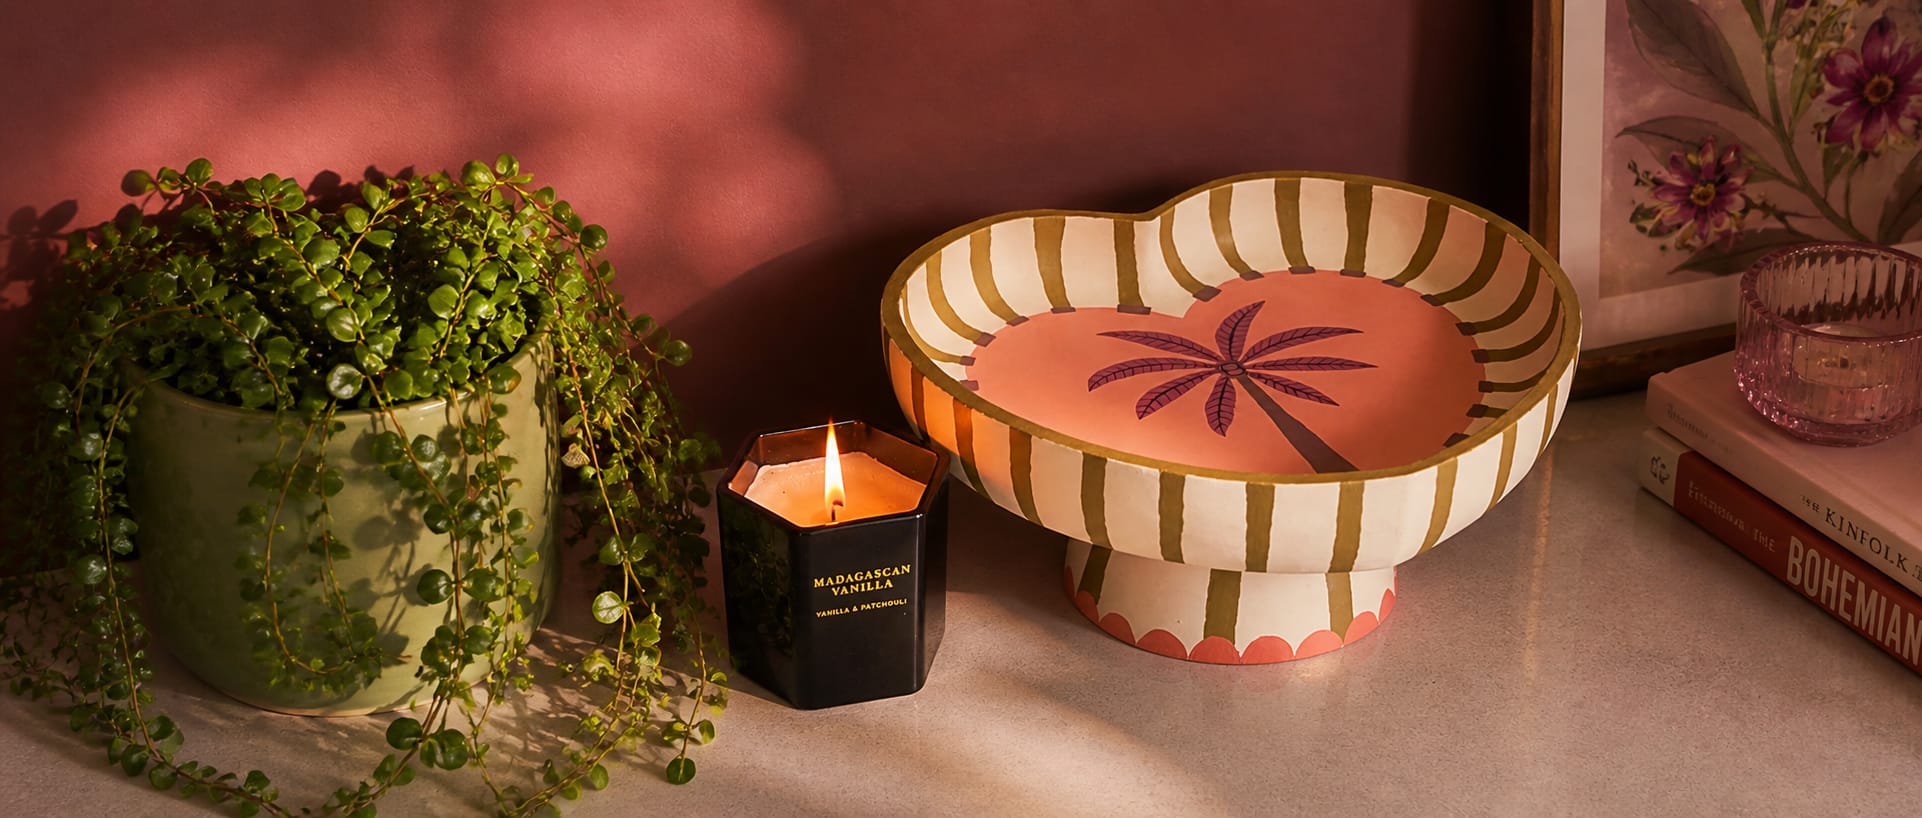
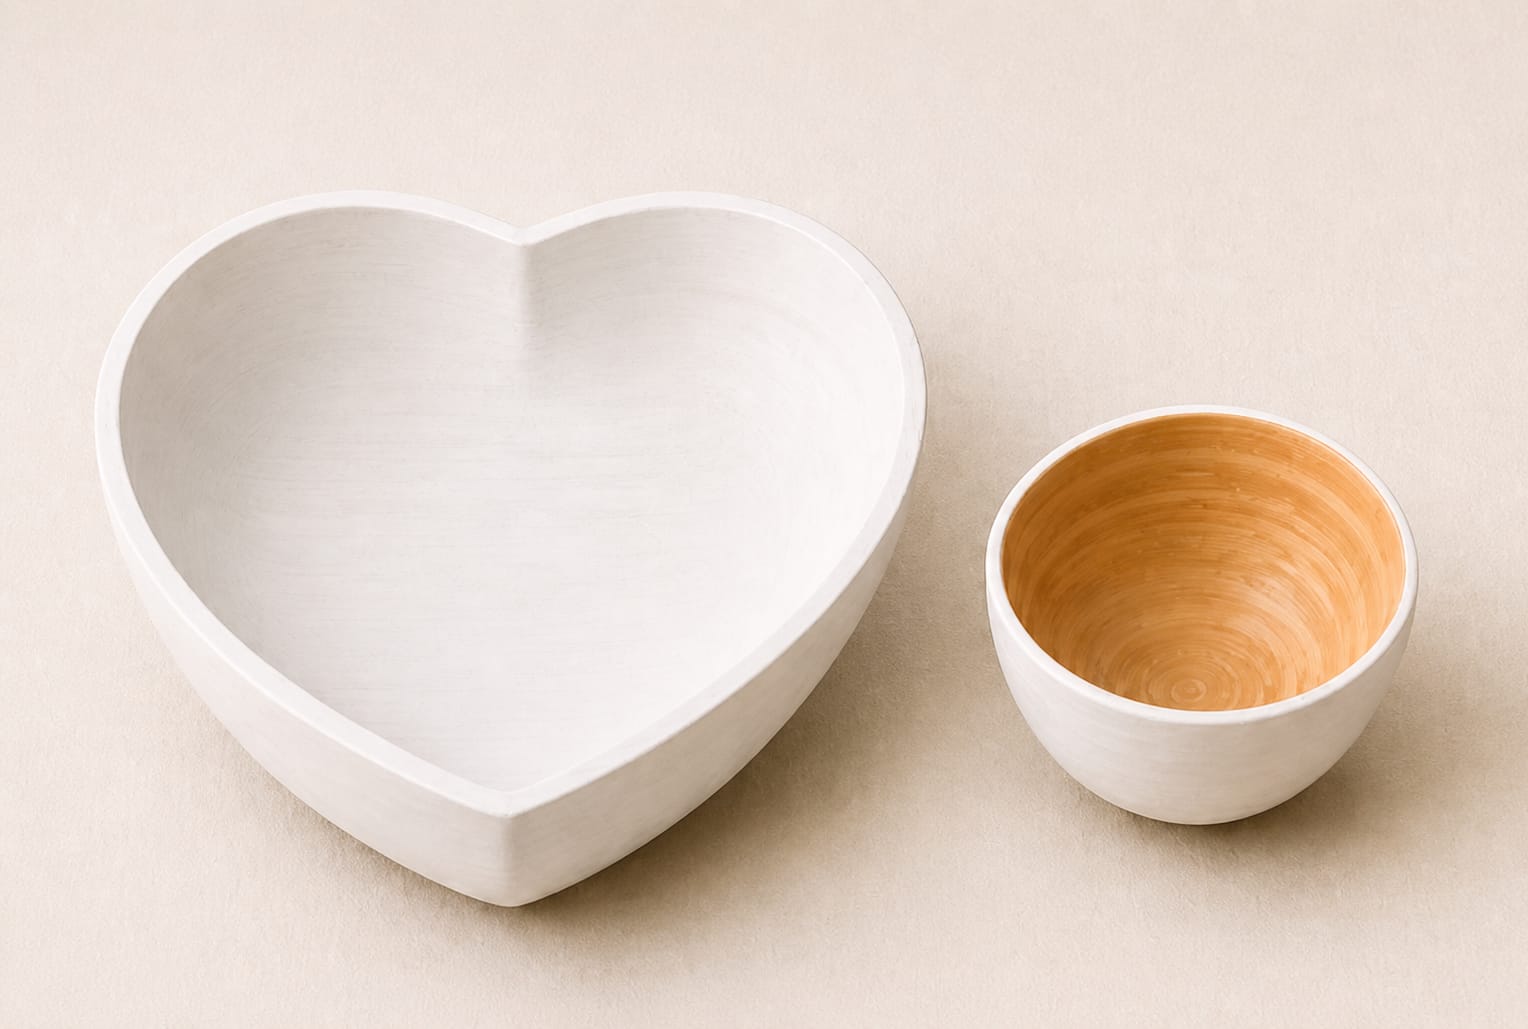
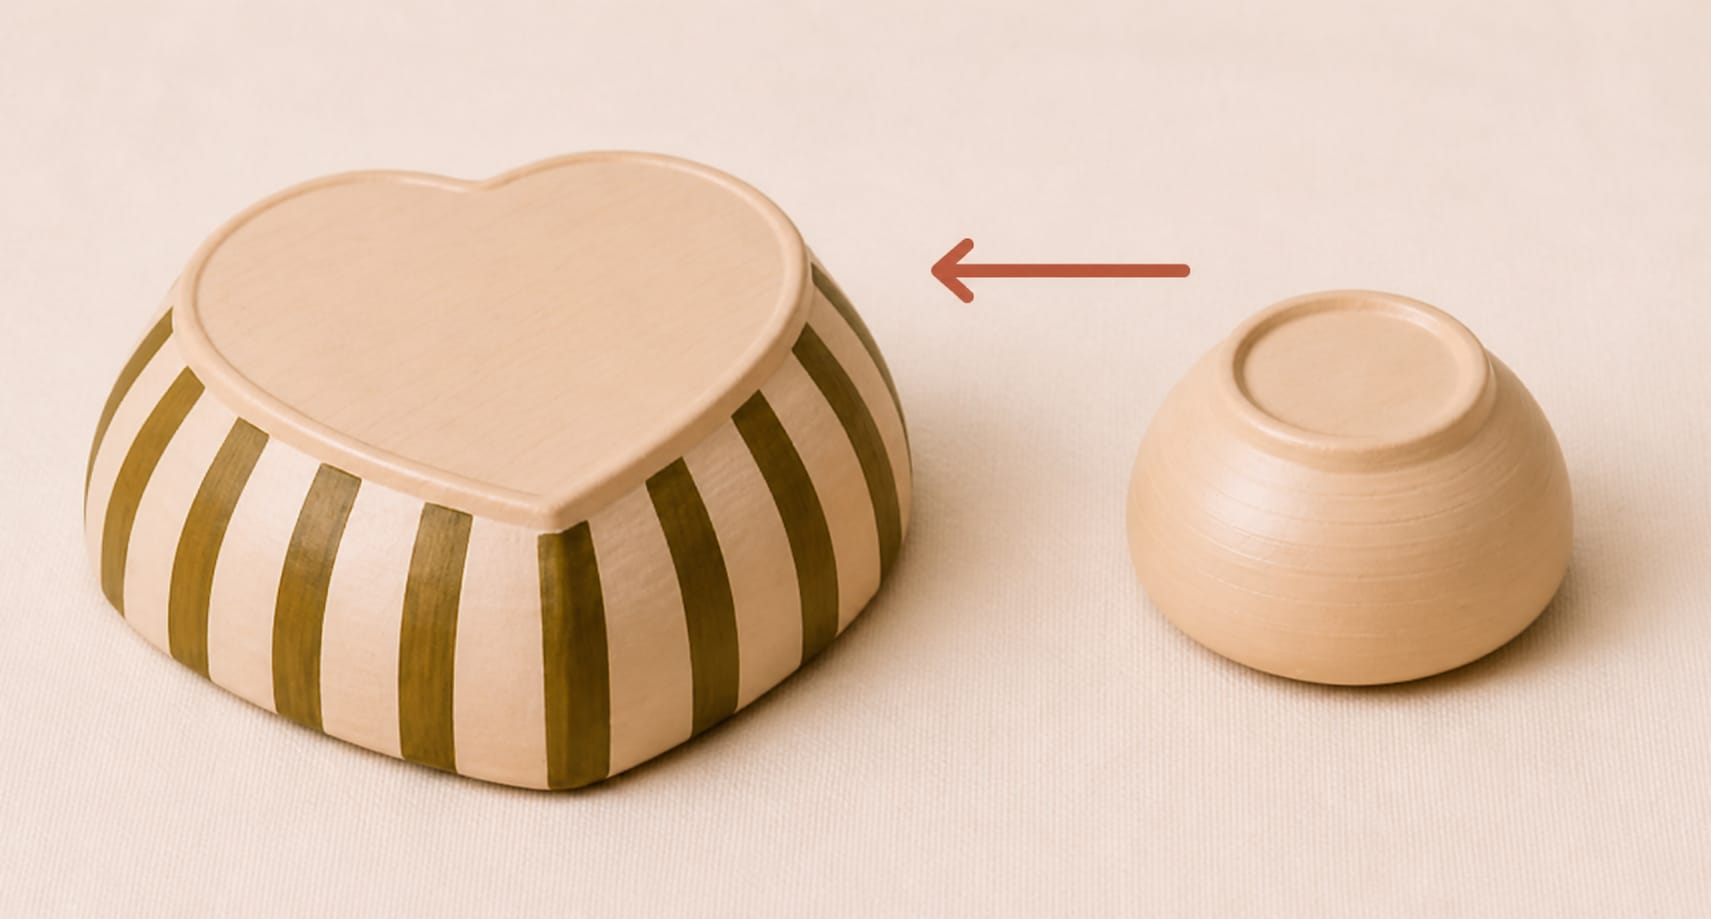
From 2 simple items to a unique statement piece
Also browse online for wooden or bamboo bowls. You'll often find beautiful and affordable options in different styles and sizes.
You can use leftover paint tester pots you have lying around, ideal for mixing colors and keeping the project affordable.
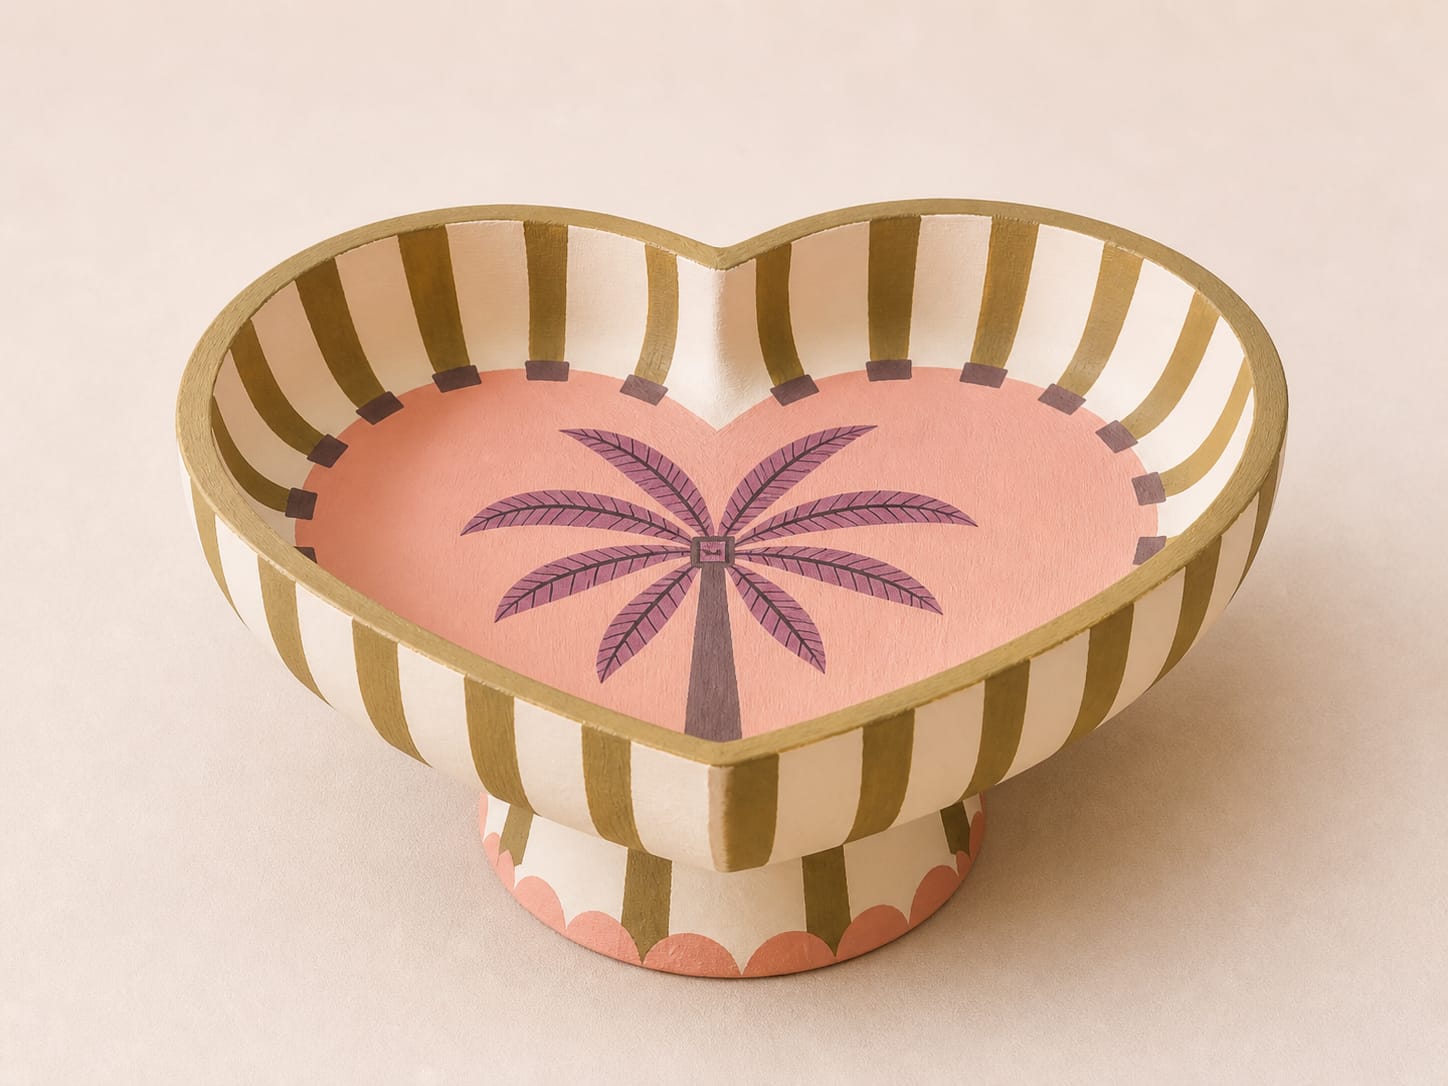
DIY Fruit Bowl
Start by thoroughly degreasing both bowls, inside and out (e.g. with St Marc). Then lightly sand all surfaces with P240 sandpaper so the paint will adhere properly.

Apply a layer of white primer to the inside and outside of the large bowl, and to the outside of the small bowl. Let it dry thoroughly before continuing.
Paint the large bowl (inside and out) in a light, warm base color such as beige or off-white. I used a tester pot I had on hand from LAB paint in the color 'Ibiza Rush'. Paint the outside of the small bowl too. Let everything dry well, then set the small bowl aside.
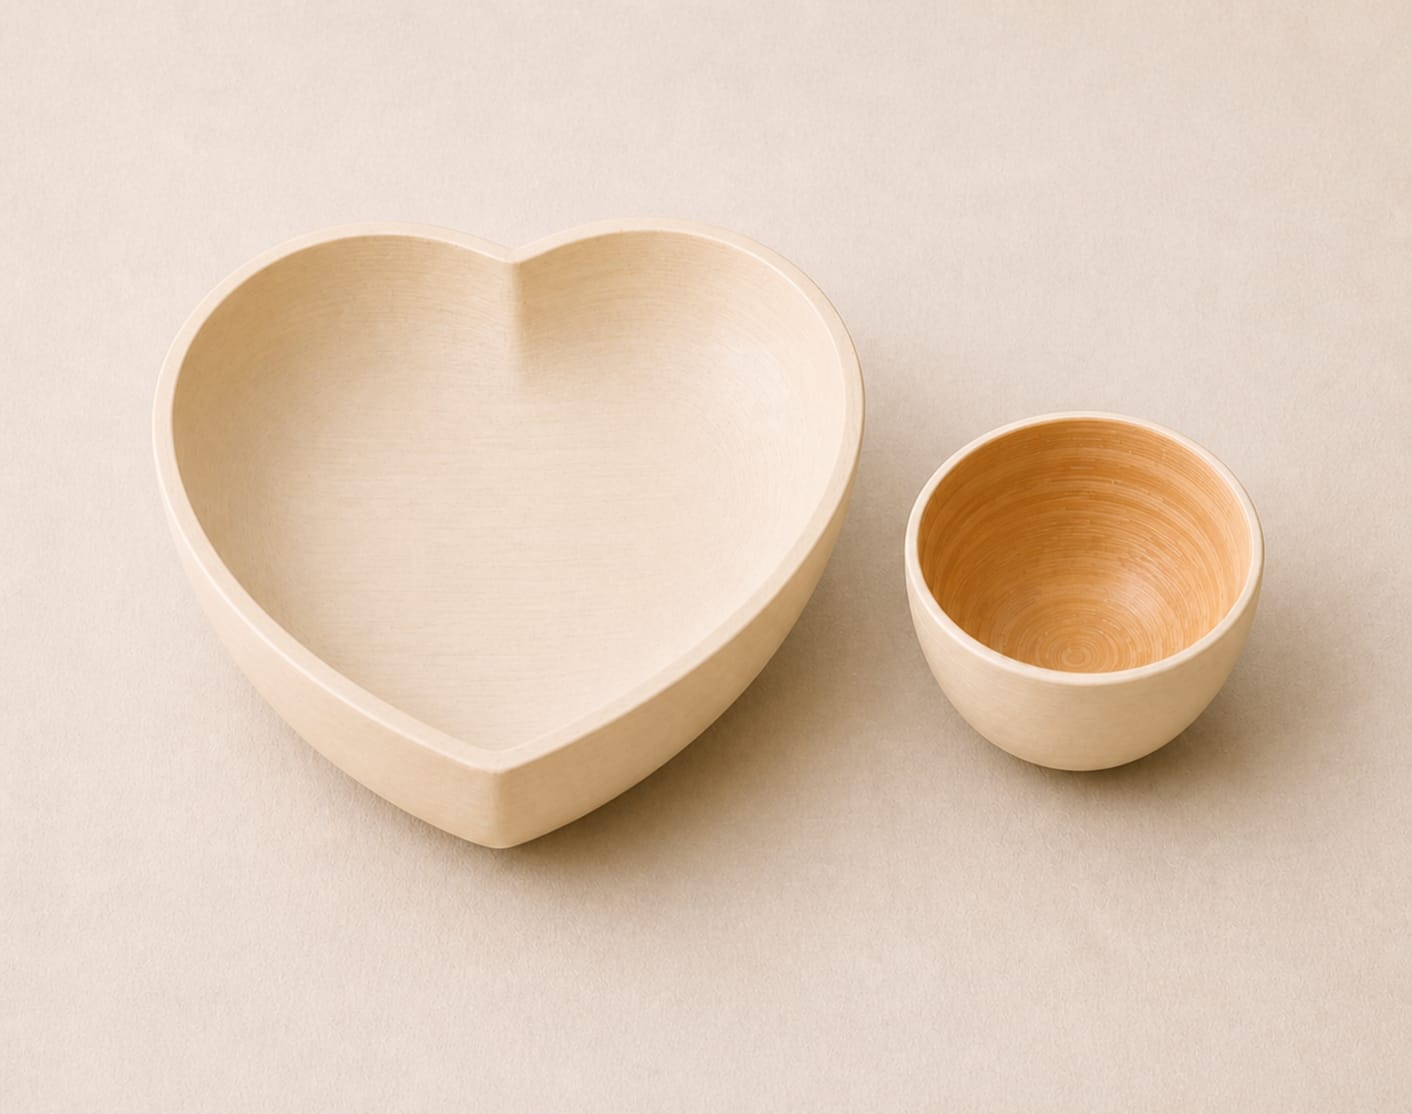
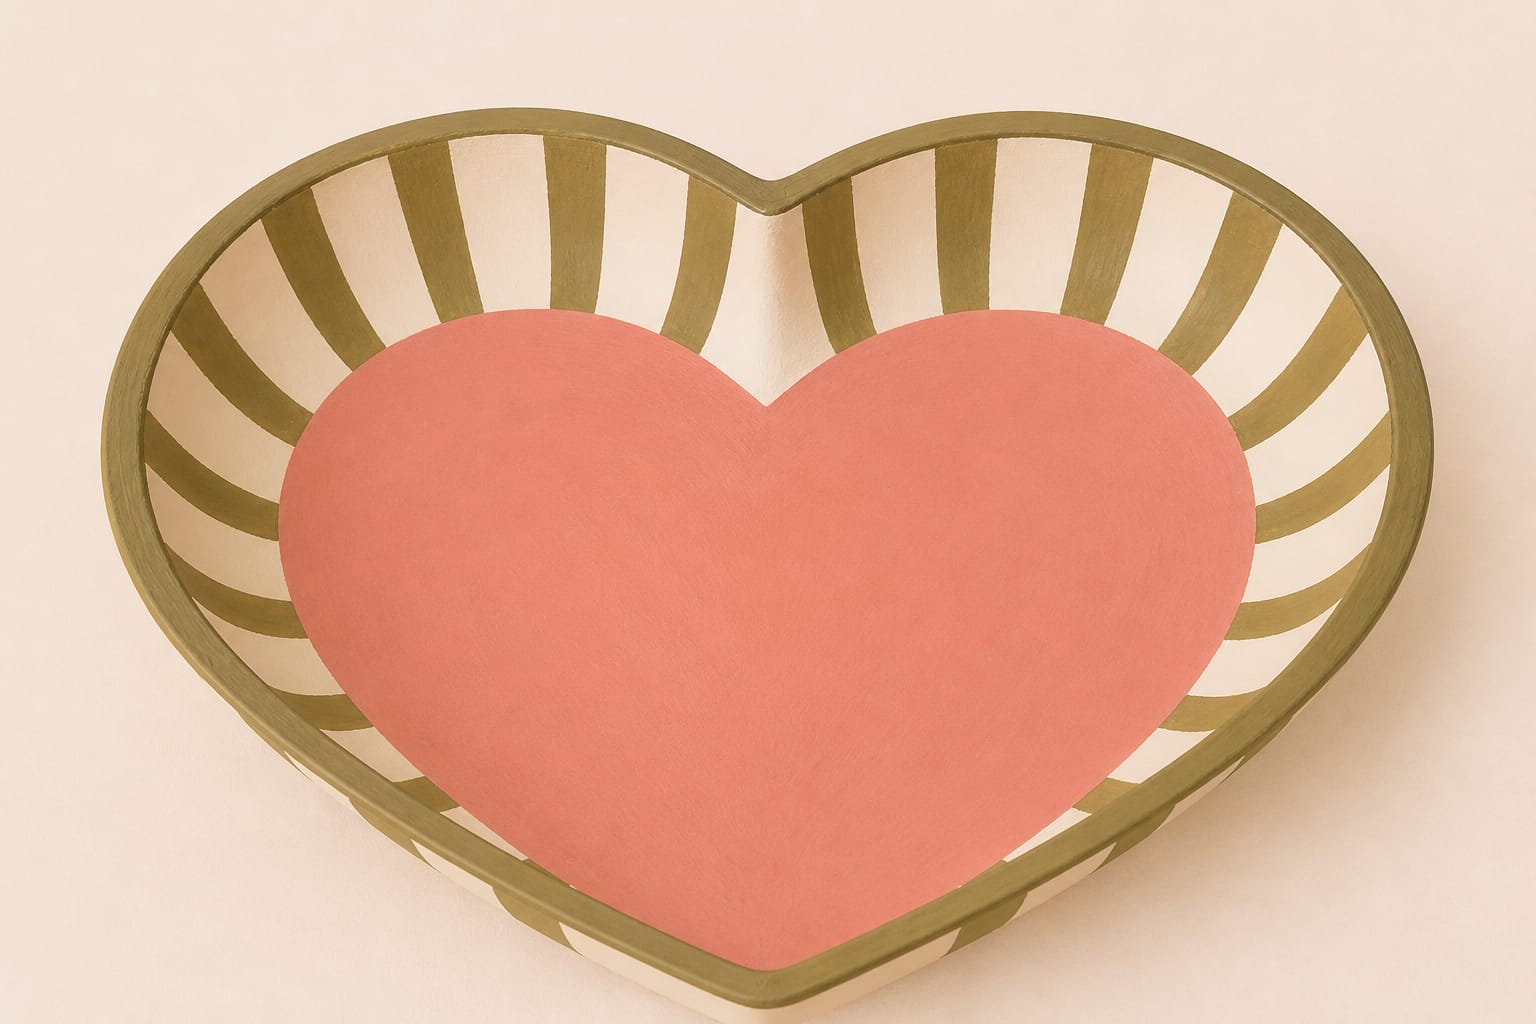
Draw a heart in the middle of the bowl with a grey pencil, then paint it in a soft accent color. I mixed a salmon pink shade with acrylic paint (see mixing tips at the bottom of the page). Work in thin layers for an even result.
Mix a contrasting color (e.g. moss green). First paint the top rim, then vertical stripes running from the rim down toward the heart. Take your time here; this really defines the look of your bowl.
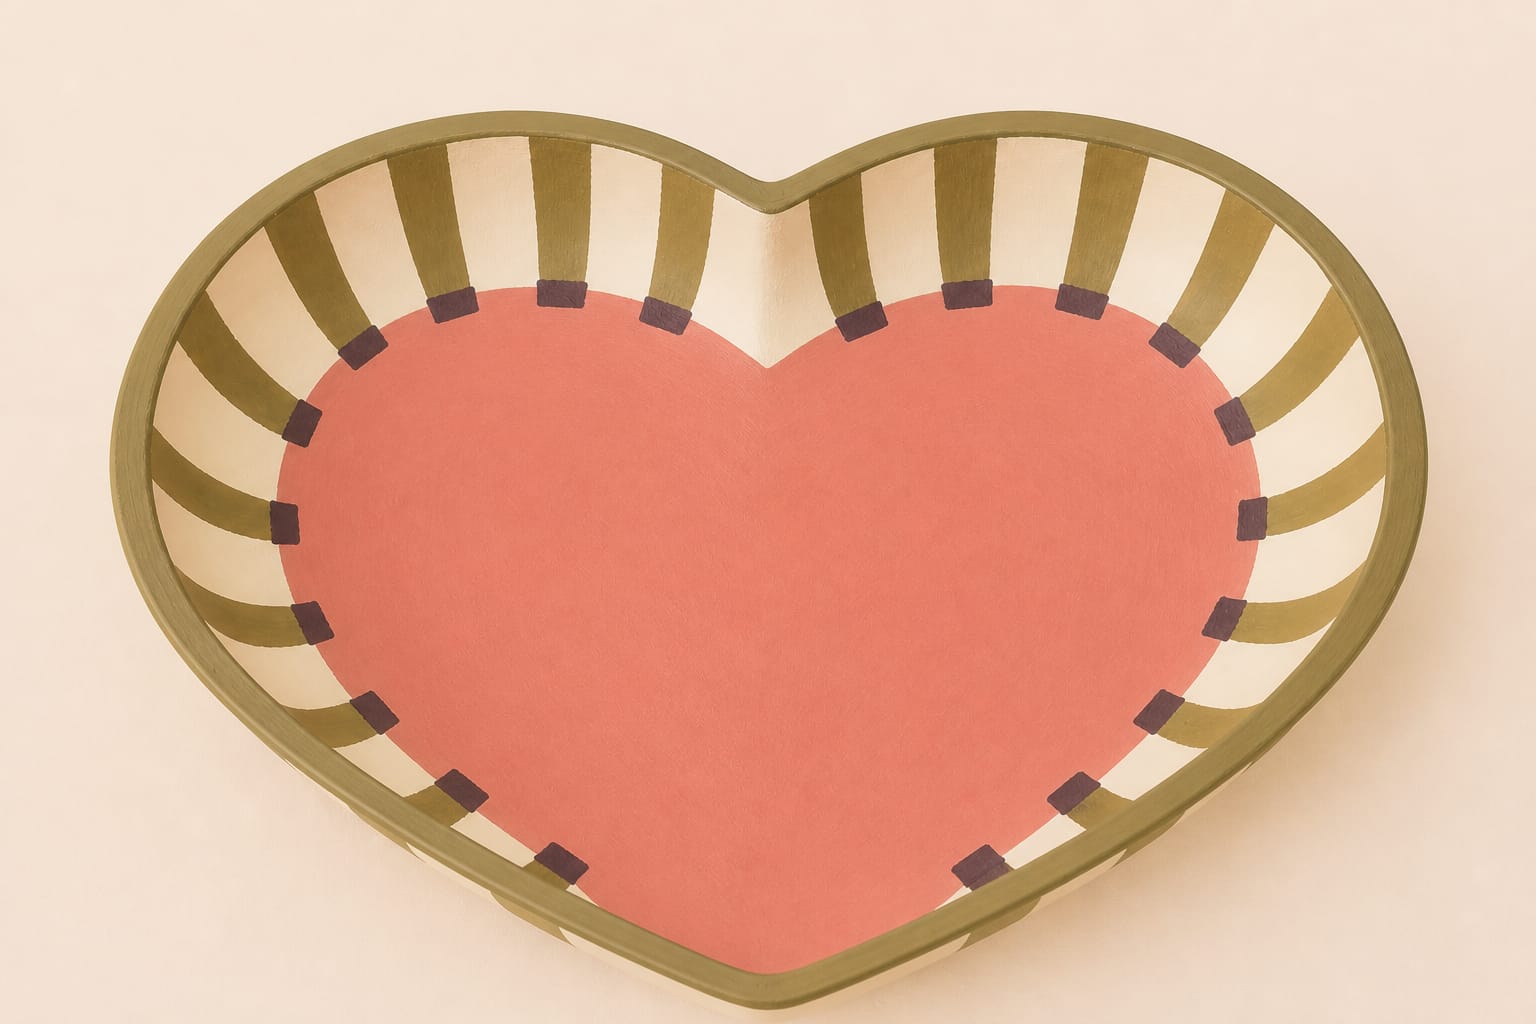
Use a dark color (I used a Flexa tester in 'Full Plum'). Paint small square blocks where the stripes meet the heart, so the stripes appear visually "anchored" to the heart.
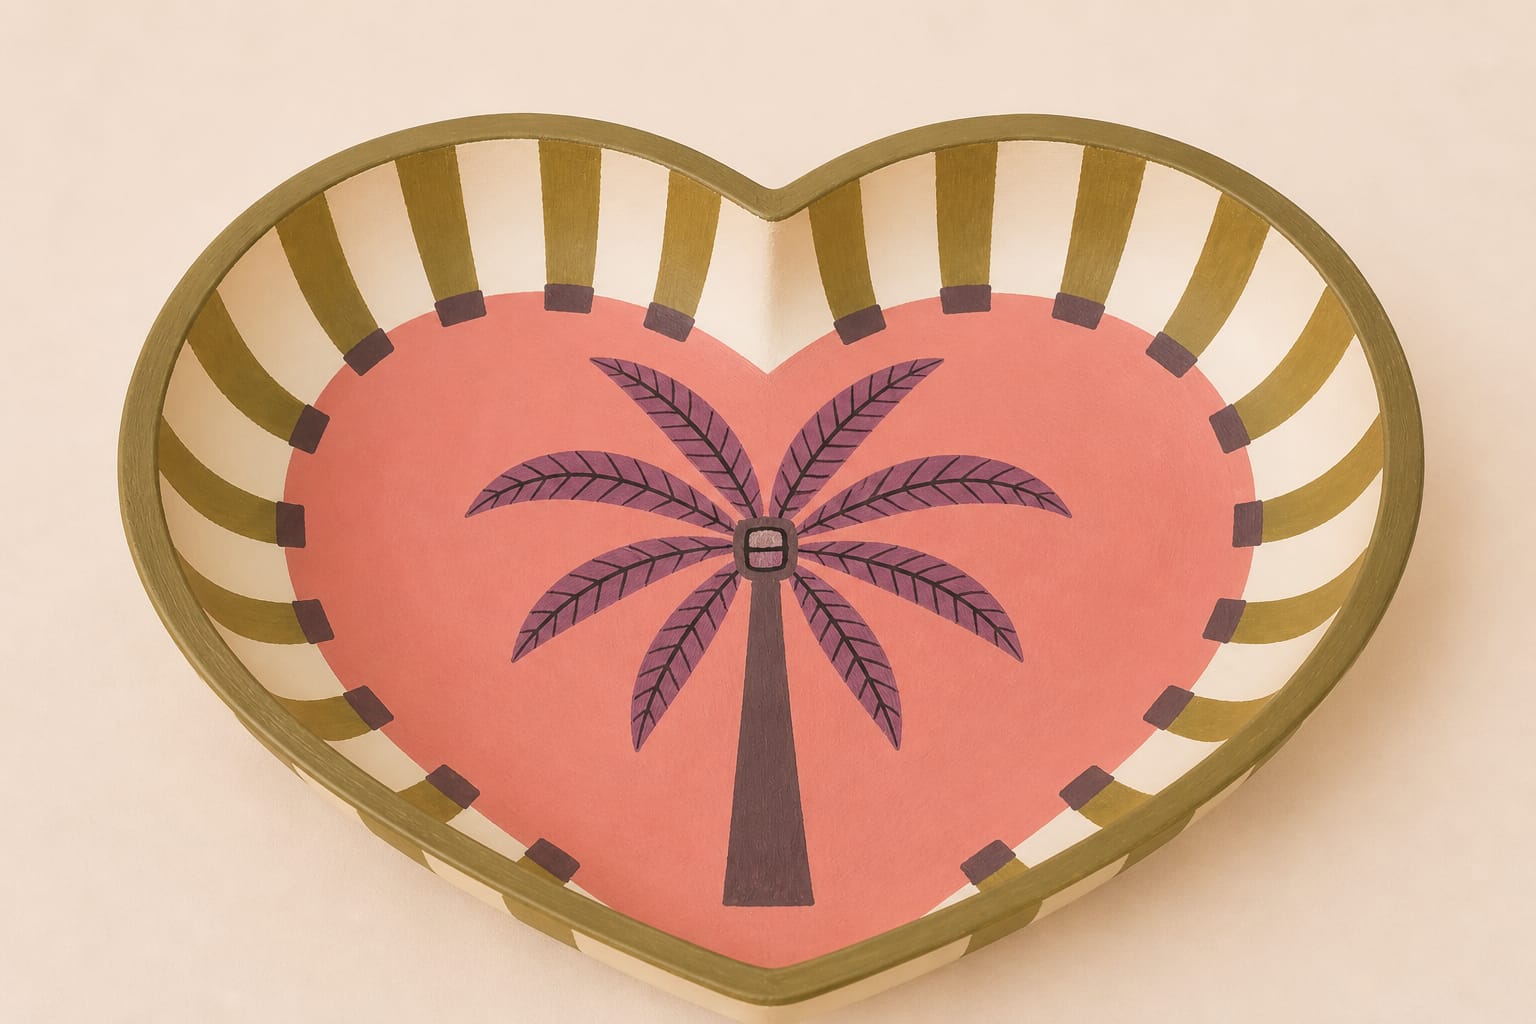
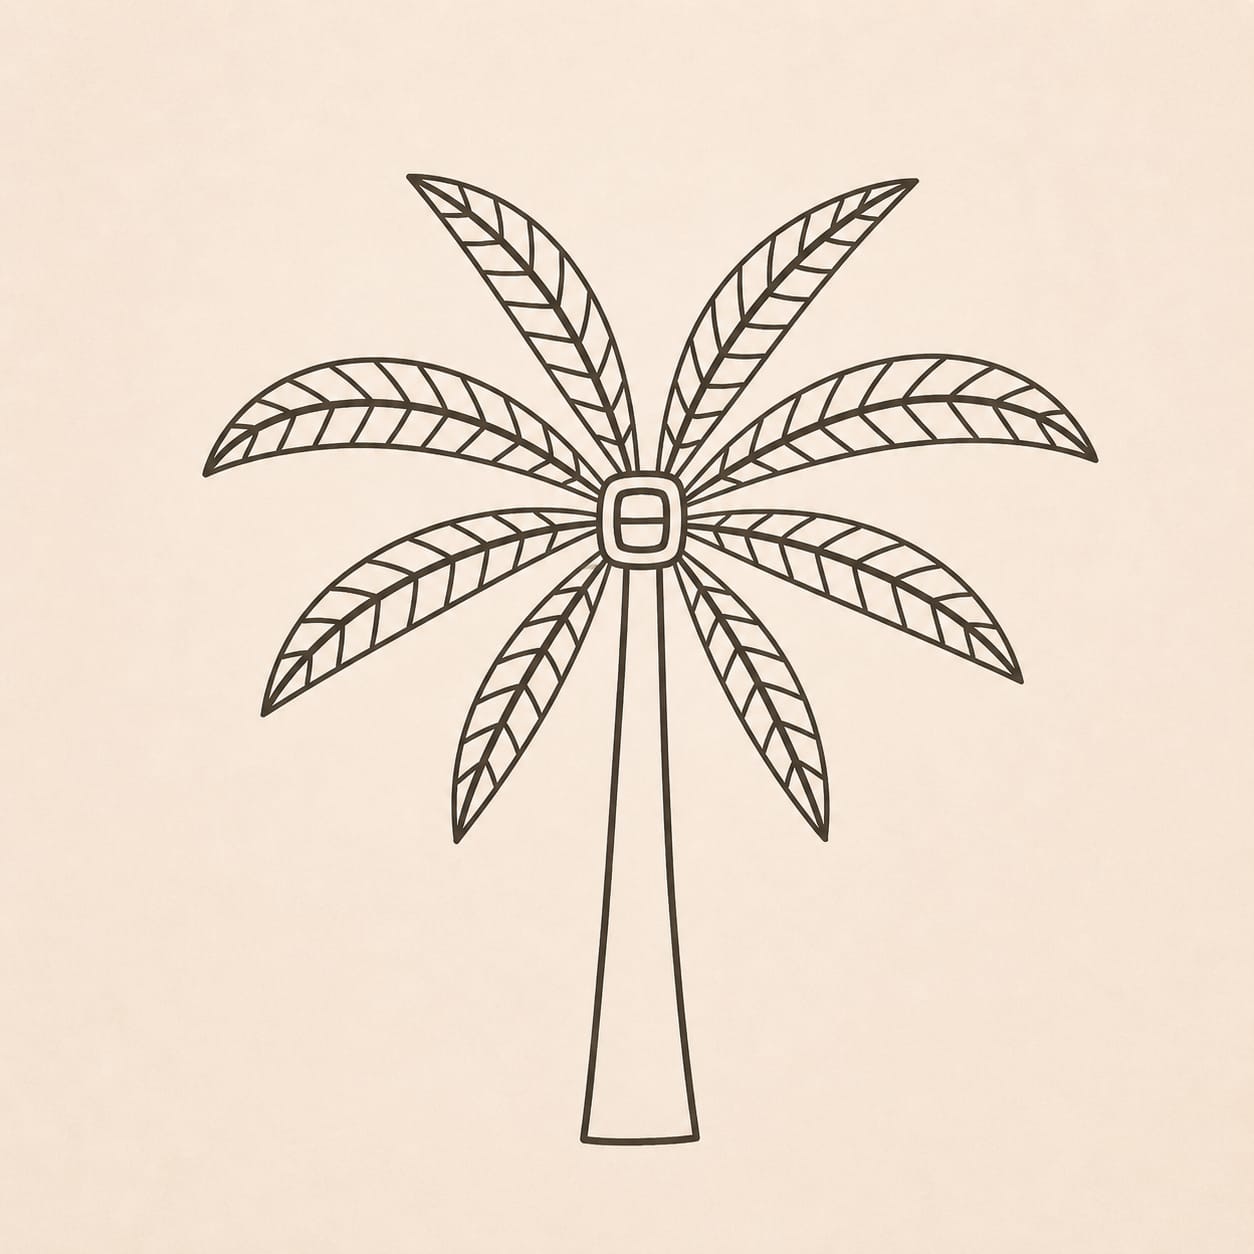
Pencil in a palm tree in the middle of the heart. Mistakes are easy to erase. You'll find an example of the palm at the bottom of the page. Paint the trunk and the center of the leaves in the same color as the square blocks. Mix a fitting new color for the leaves (I mixed a light purple). Finish the leaves with a fineliner: thin lines for details, thicker lines for the central veins.
Paint stripes on the outside of the bowl in the same positions as on the inside. Use the same color so everything ties together nicely.
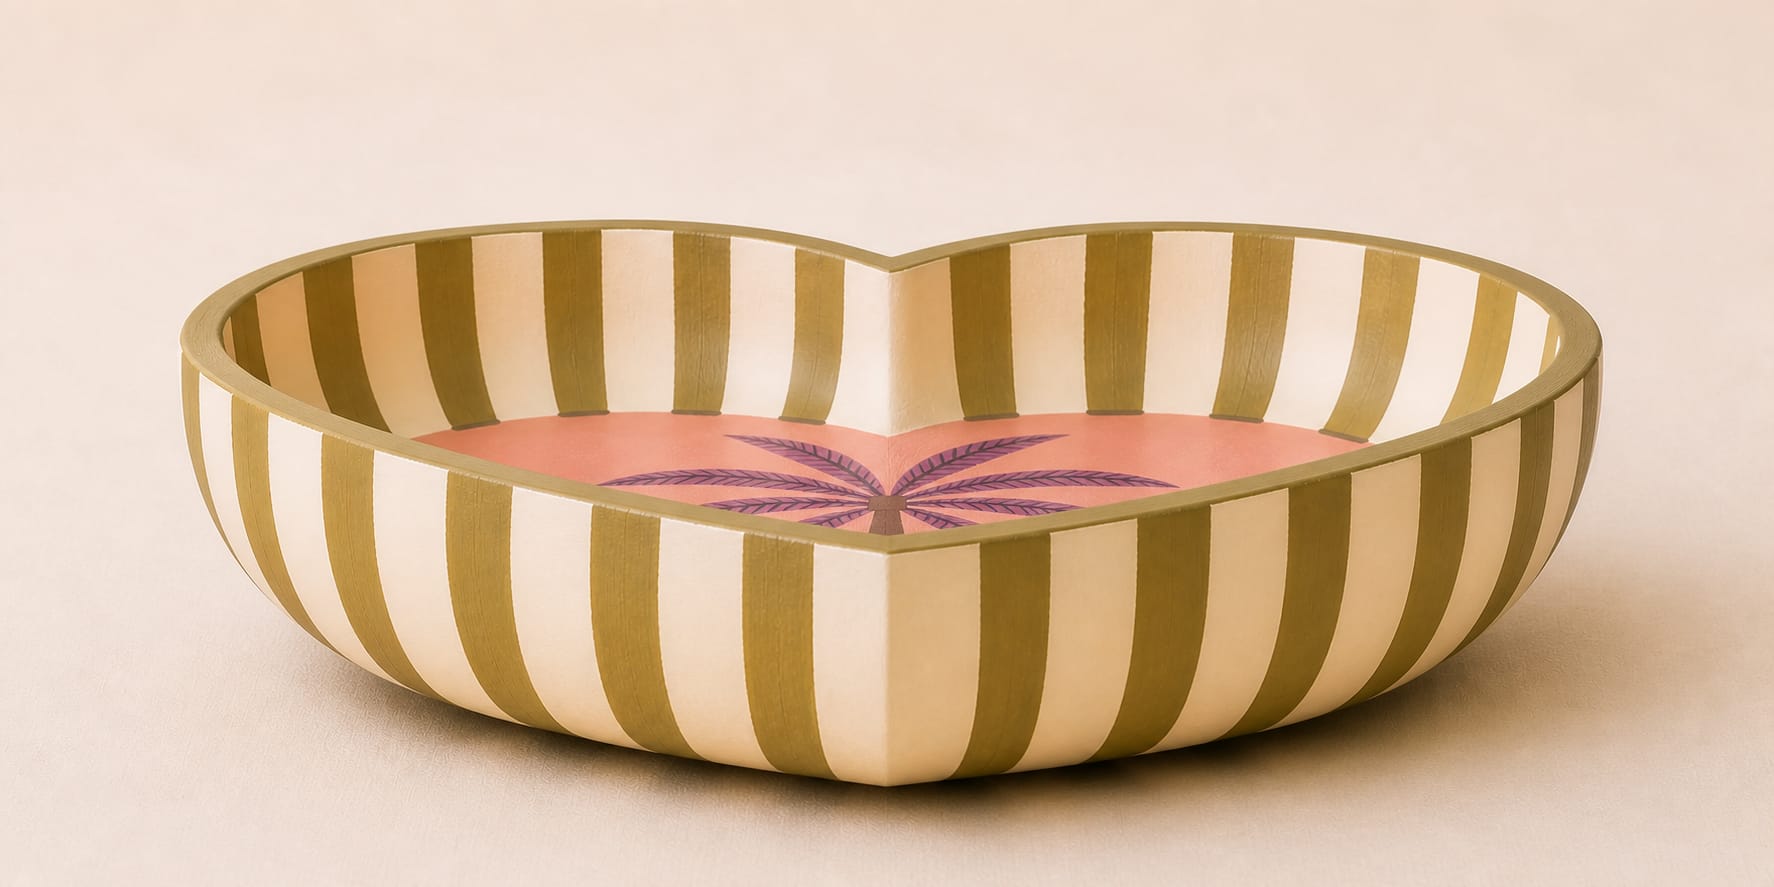
Turn the heart-shaped bowl upside down. Attach the bottom of the small bowl to the bottom of the heart-shaped bowl using wood glue. Let it dry thoroughly, and place something heavy on top, like a stack of books, to help it set (at least 1 hour drying).
Paint stripes on the base in the same color as the other stripes. Then, on the underside, draw a pattern of rounded repeating arches and paint them in the same color as the heart.

Apply two coats of clear acrylic varnish over the whole bowl. Let each coat dry completely before applying the next. This gives a beautiful finish and protects your design.
Example & colors
You can of course buy the colors you like ready-made, but mixing your own shades is a lot of fun too. For the fruit bowl I used warm, soft colors that are easy to mix yourself from a few basic colors.
Mixing colors: the shades I usedStart with white and add red little by little. Soften and warm the color with a small drop of orange or beige. Want a more powdery tone? Add a tiny bit of brown.
Mix yellow with a little blue until you get a warm green shade. Then add a tiny bit of brown to soften the color and make it more earthy. More yellow gives a fresh yellow-green; more brown gives a deeper moss color.
Mix white with a little purple. No purple on hand? Use blue and a small bit of red. Add extra white for that soft, pastel feel. Want it warmer? Add a touch more red.
Always add dark colors little by little; it's easier to darken than to lighten again.