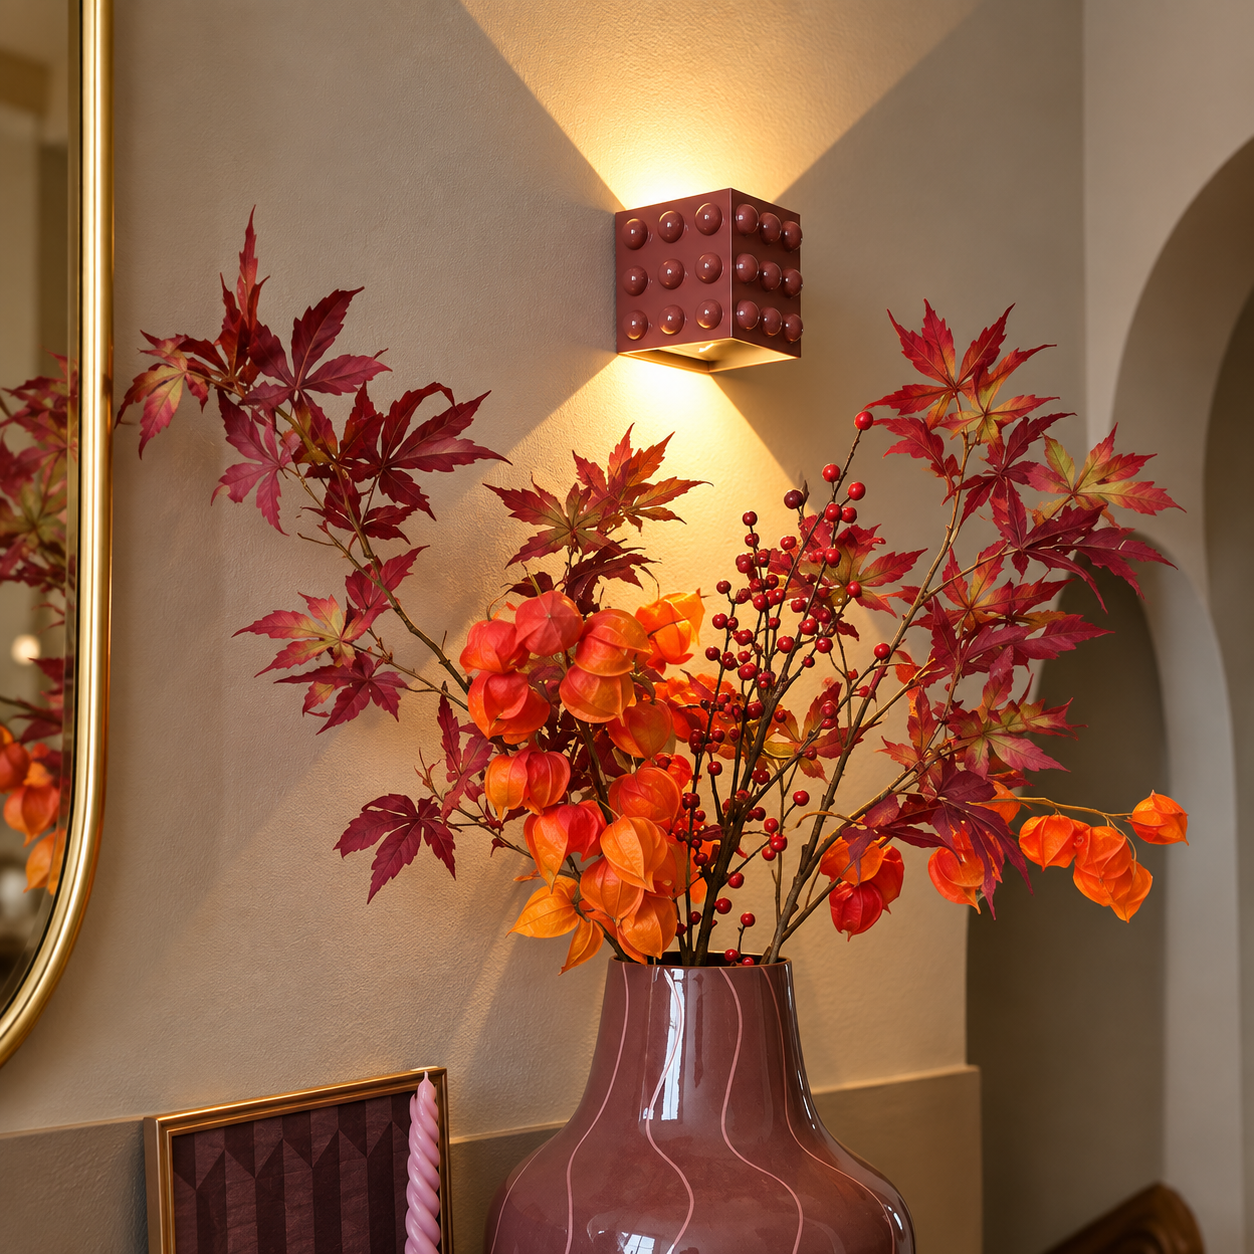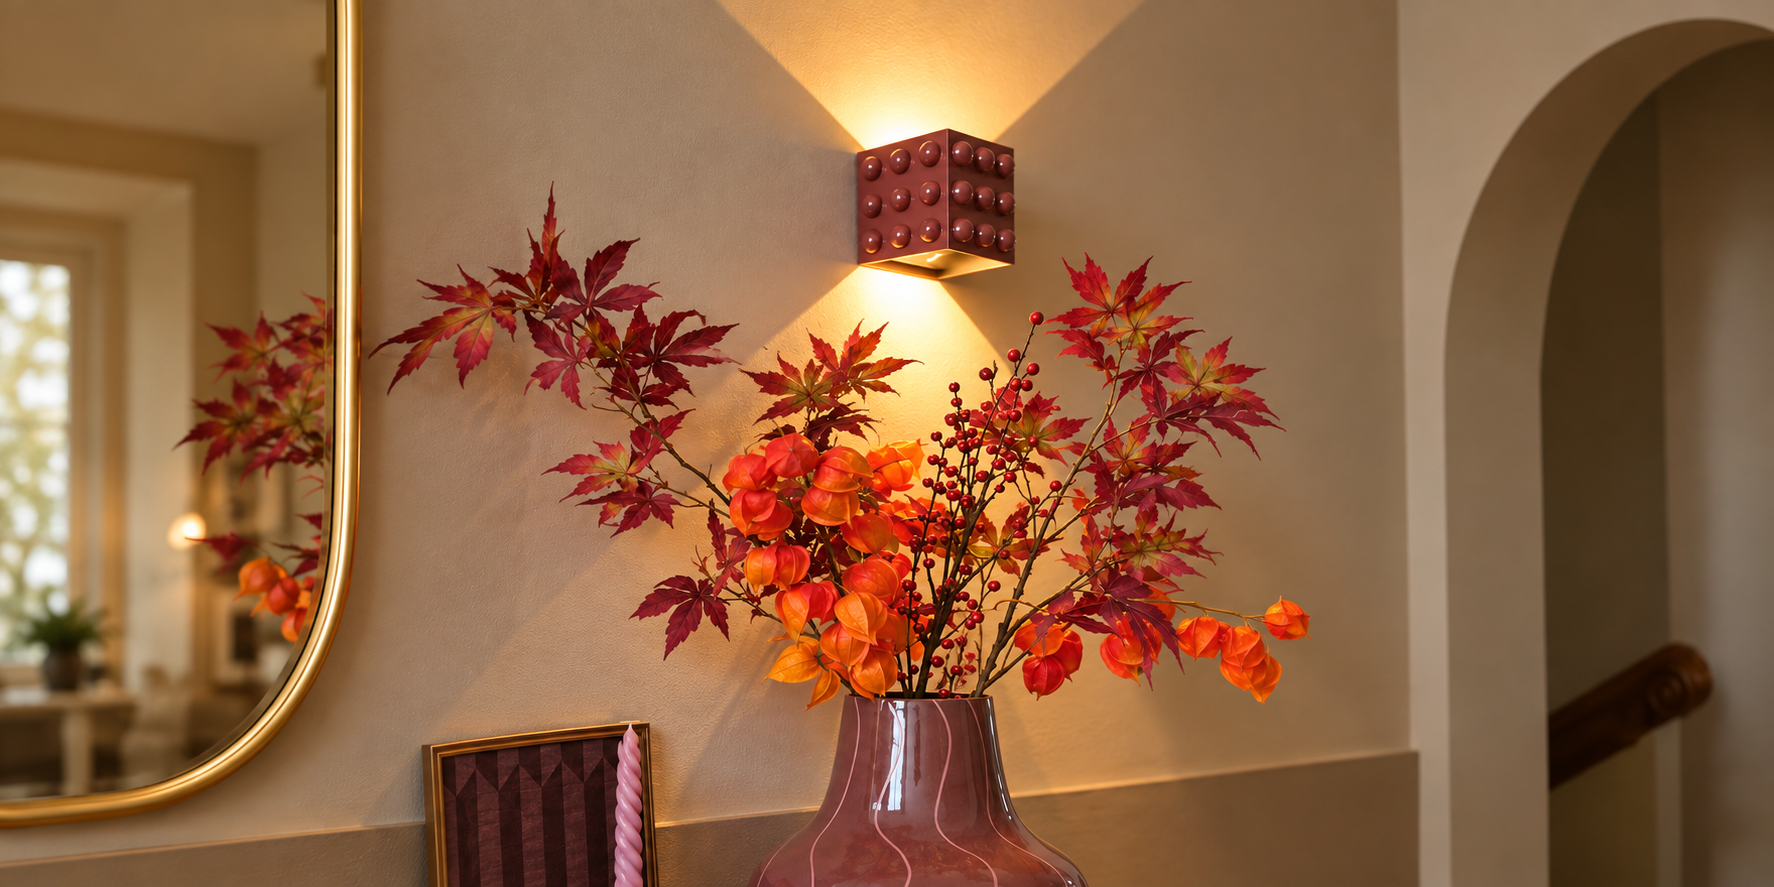
A simple rechargeable lamp becomes a colorful eyecatcher on your wall
Let the paint and glue dry properly between every step. That way the domes won't shift and you're less likely to damage the paint layer.
DIY Statement Wall Lamp
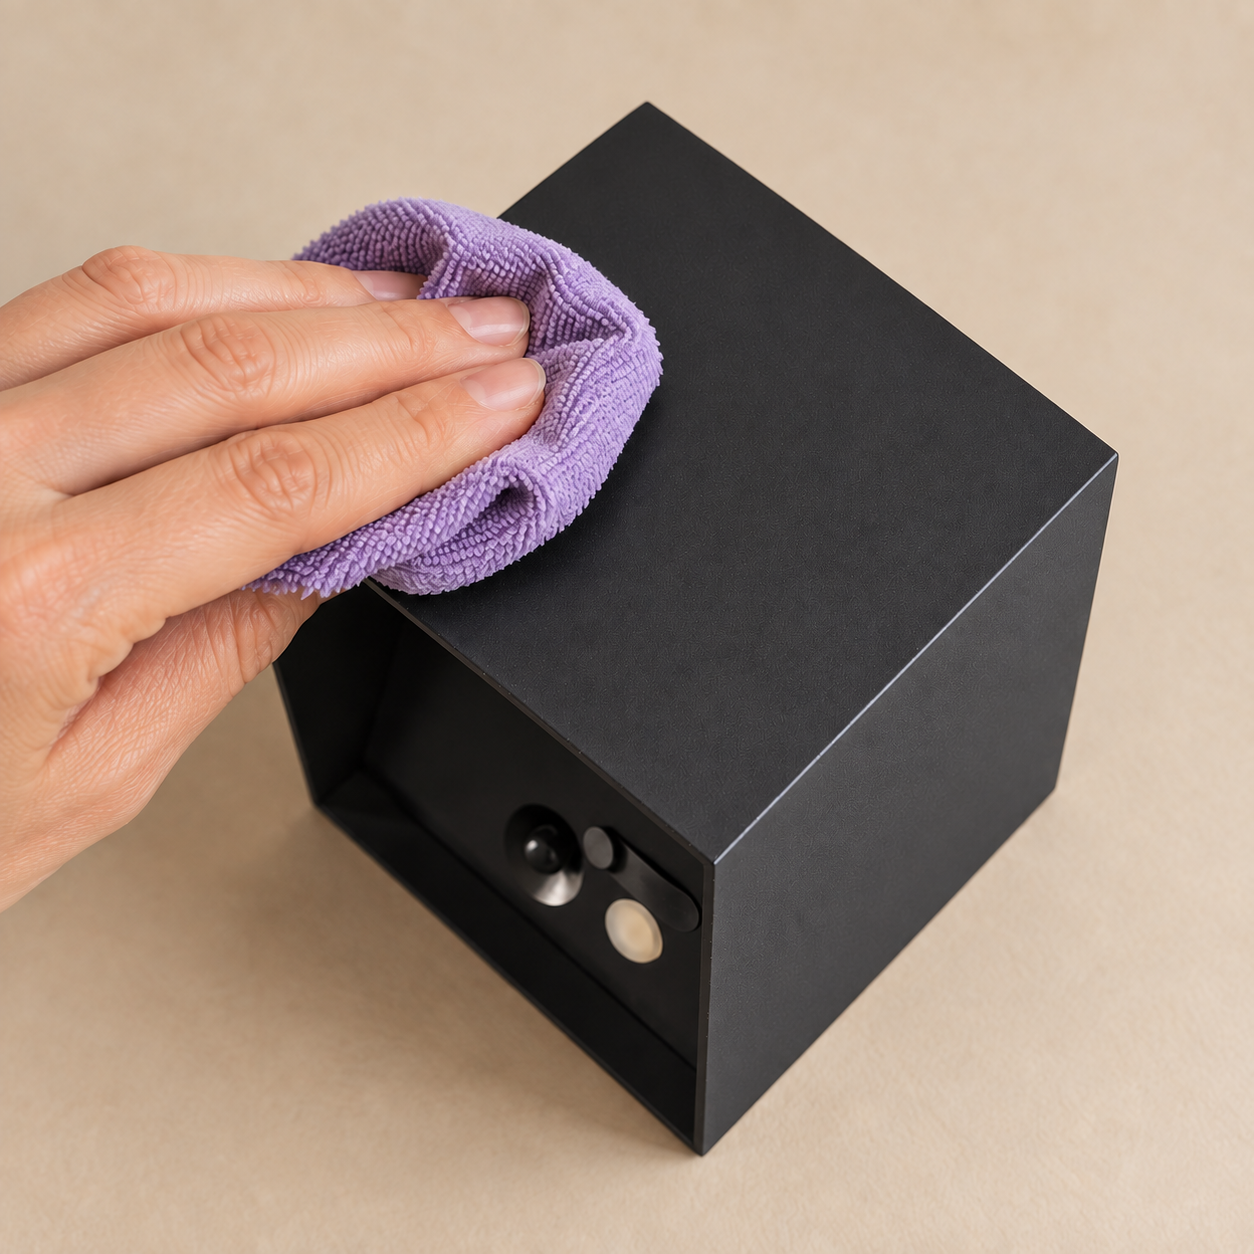
Thoroughly degrease the lamp and then lightly sand the surface with fine sandpaper (P240). This helps the paint adhere better later on.
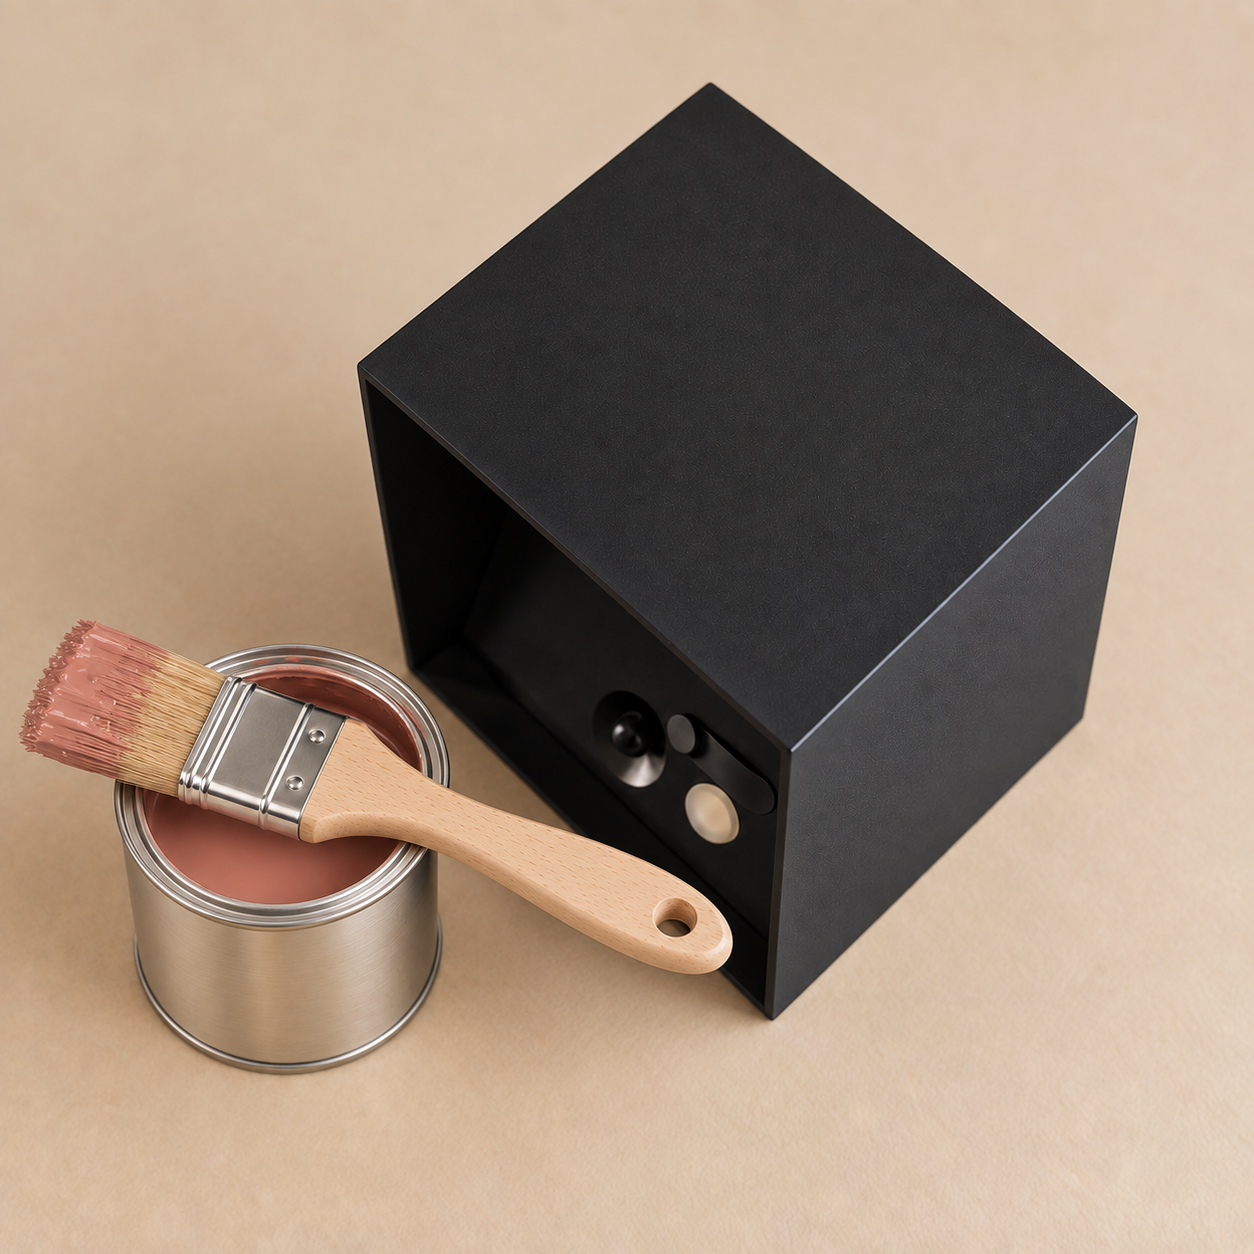
If needed, apply a primer for metal first (that's a step I was a little too impatient for myself 😉). Then paint the lamp in a color of your choice and let it dry well. I went for the color Merlot Mania by LAB Paint.
Measure out where the domes should go, so you get an even 3 × 3 grid on each side. Then glue the domes in place with wood glue.
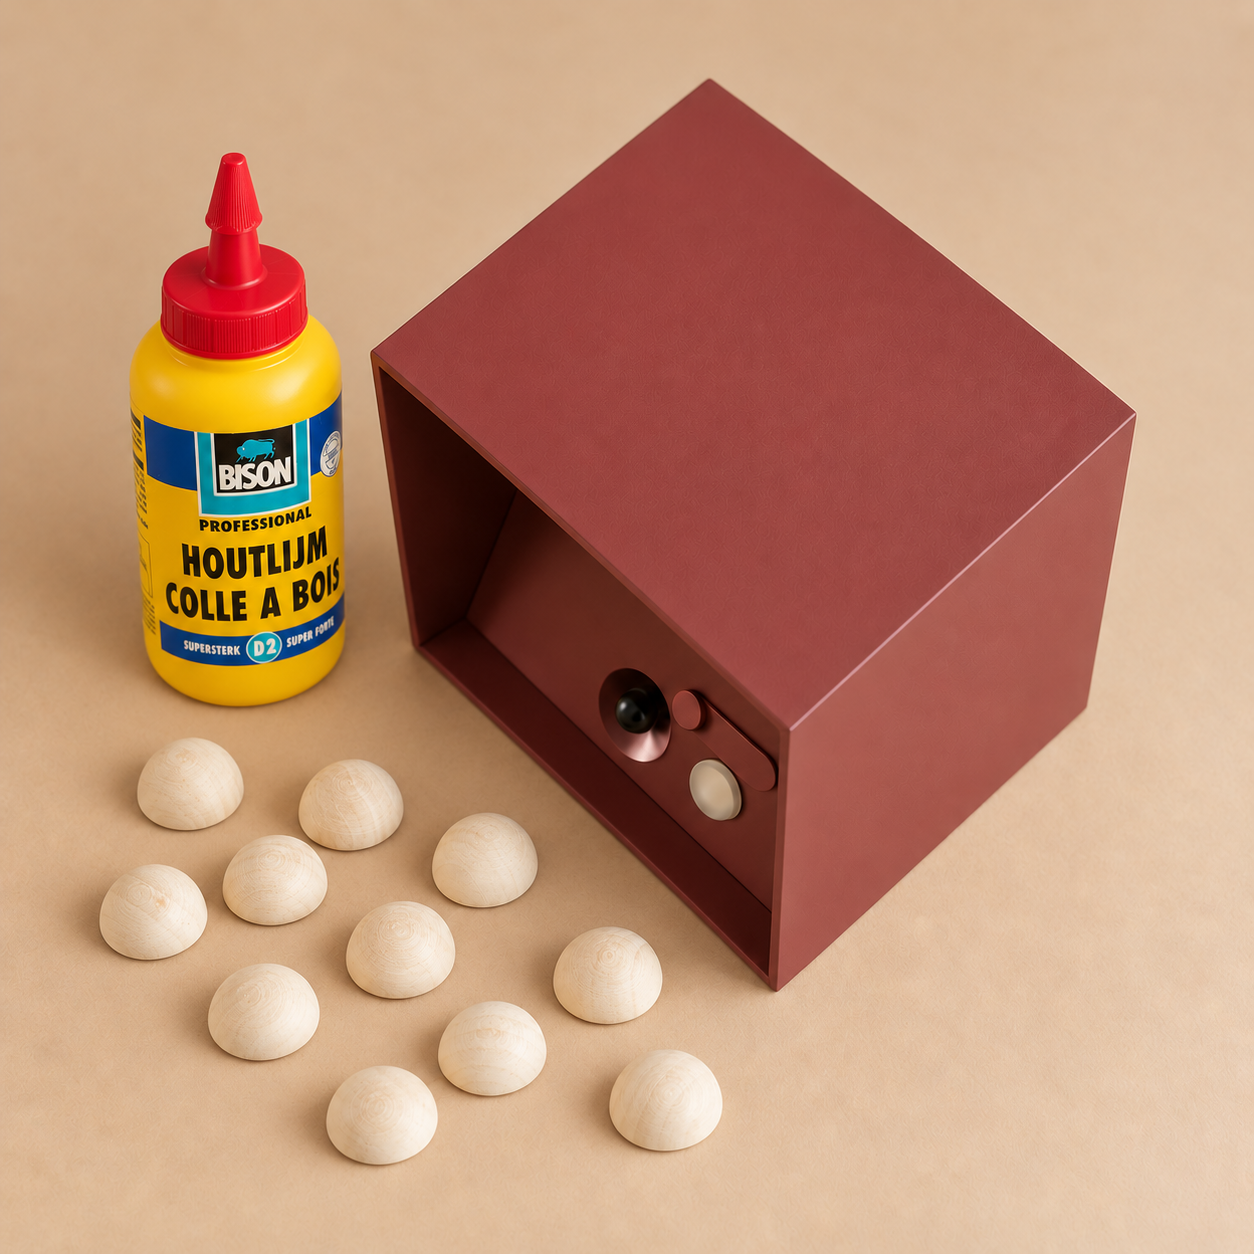
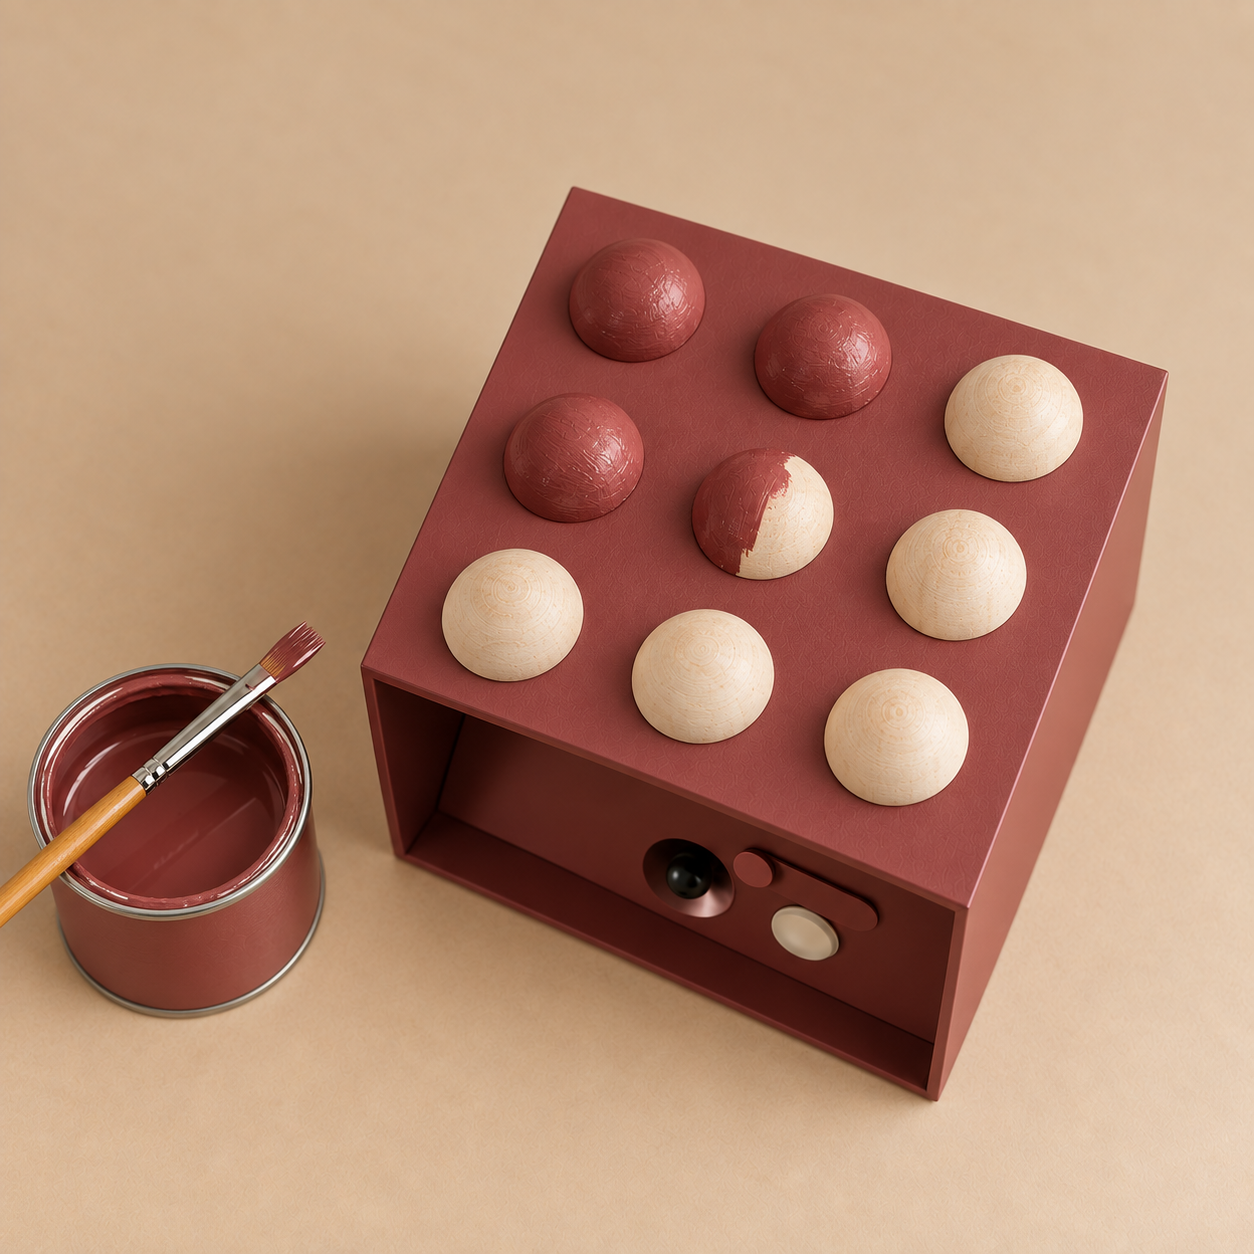
Carefully paint the domes in the same color as the lamp. Use a small brush for this and let everything dry completely afterwards.
Spray the entire lamp with glossy clear varnish. Do this outside or in a well-ventilated space and let the varnish cure well.
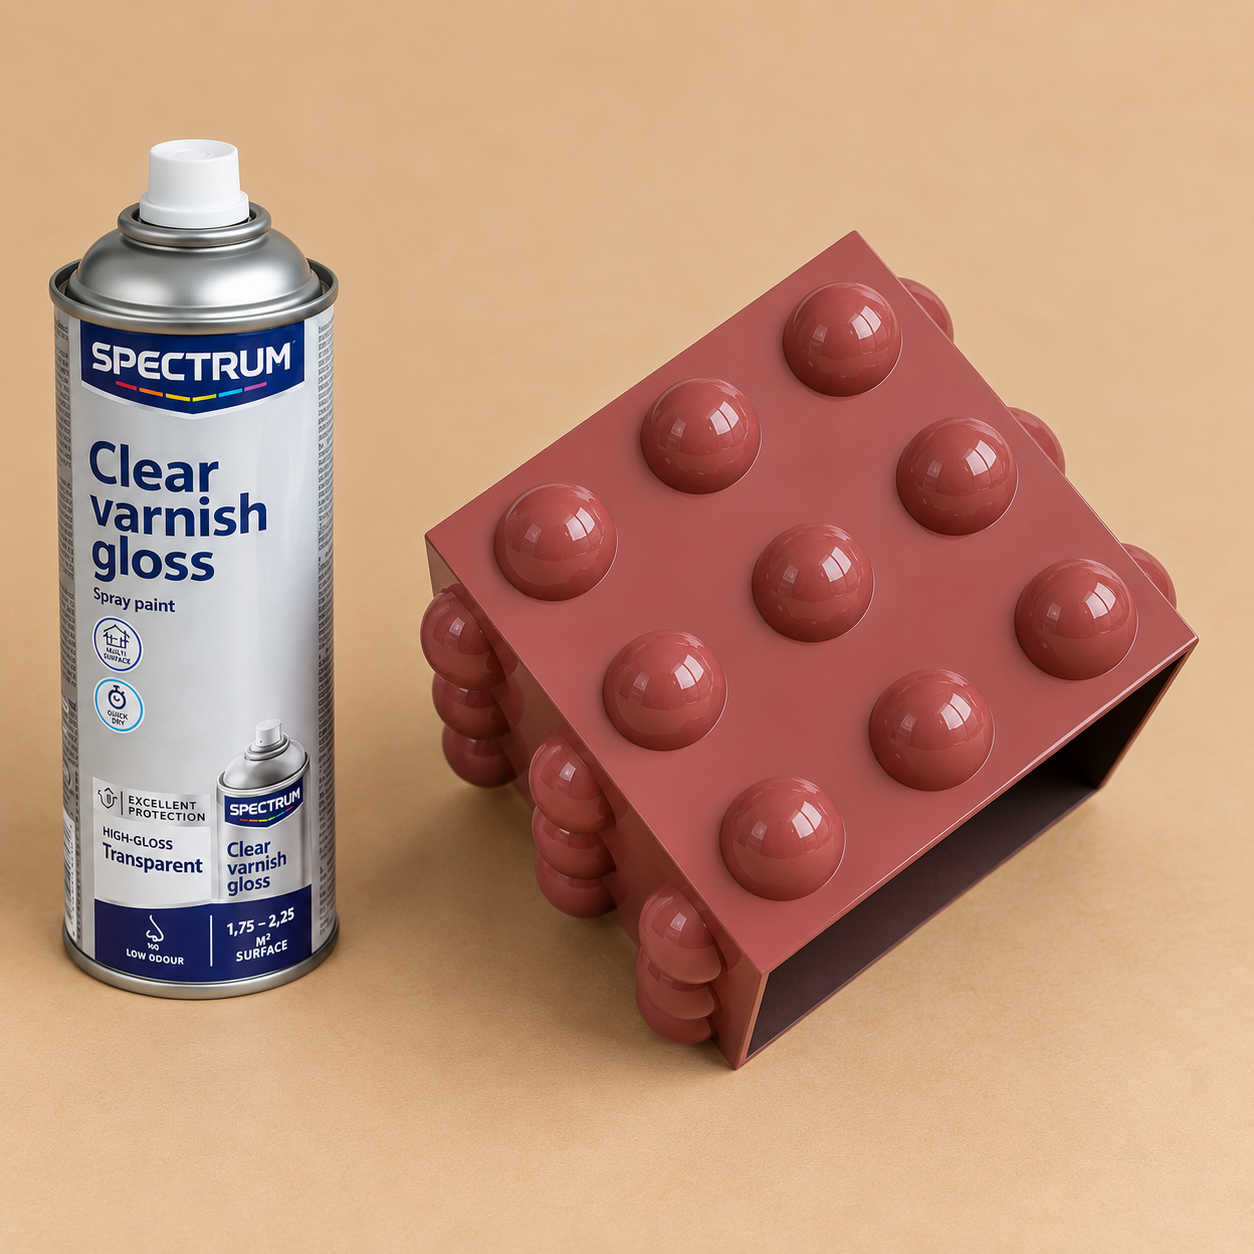
Your own colorful statement wall lamp is ready to hang! ✨